In this article, you’ll find three winter deck protection tips to keep your outdoor living space looking great for years to come.
During warmer seasons, there are so many ways to enjoy a deck – hosting backyard BBQs, reading a book while getting some sun, lounging with the family, the list goes on. But for homeowners who live in colder climates, that fun comes to a screeching halt each winter. From December through March (or longer depending on where you live), winter conditions like snow, sleet, and ice send people fleeing indoors.
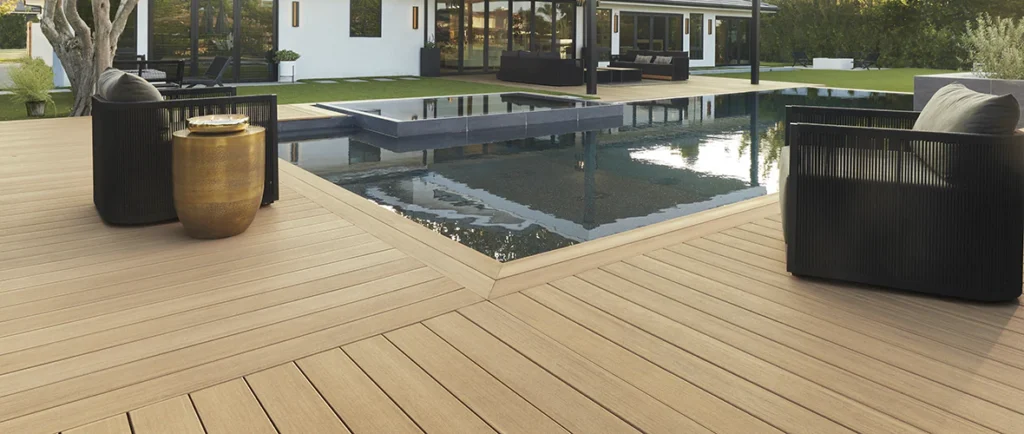
Nasty winter weather doesn’t just ruin the fun, it can also cause a lot of damage to your deck. Now, if you have a TimberTech® deck, a little snow and moisture isn’t that big of a deal, as our boards are significantly more durable and require much less maintenance than their wood counterparts. Even still, it’s not a bad idea to take some extra precautions this year and follow these winter deck protection tips.
Winter Deck Protection Tip #1: Removing Snow

Thanks to the moisture-resistant technology in the caps of our TimberTech AZEK®, PRO®, and EDGE® decking lines, it’s fairly safe to let snow pile up on your deck over the winter. But if you want to still be able to use the door attached to your deck as an entrance, you’ll probably want to clear a path.
The best way to remove snow from your TimberTech deck is with a plastic snow shovel. Avoid using metal shovels or plastic shovels with metal edges as these can damage the surface of the boards.
Winter Deck Protection Tip #2: Removing Ice
During the winter, outdoor walkways and surfaces are susceptible to ice and can become slippery to walk on. To prevent your deck from becoming a skating rink this winter, stick to calcium chloride products to melt and remove ice.
While there are other ways to remove ice from surfaces, you should avoid using the following methods on your TimberTech deck:
- Tinted or color-added ice melts, as they can stain your deck boards.
- Ice-chipping tools, as they can damage the surface of your boards.
- Sand, as it can grind into the surface of your deck and wear away the intricate wood grain patterns.
Winter Deck Protection Tip #3: Removing Salt
As soon as the weather is warm enough and all the snow and ice has melted away, give your deck a thorough cleaning to remove any residual rock salt.
Don’t worry, we’ve put together a quick guide to help you clean your TimberTech deck.
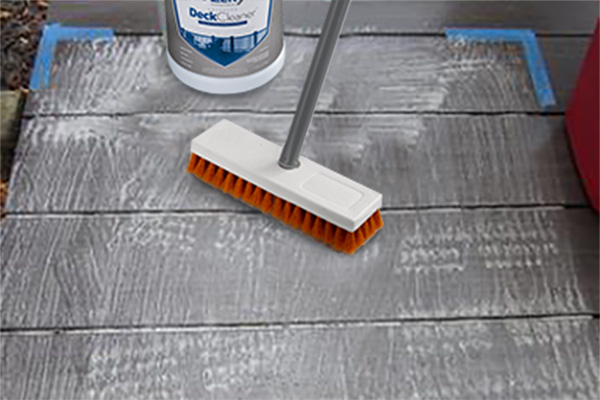
What You’ll Need
- TimberTech DeckCleaner™
- Brush with extension
- For TimberTech AZEK decks, use a stiff, natural-fiber brush
- For TimberTech PRO and EDGE decking, opt for a medium-to-stiff nylon brush
- Hose or power washer*
*Only use the power washer to rinse your deck with a maximum pressure of 1,500 psi. Make sure to use a fan-tip nozzle and spray in the direction of the grain pattern – not across it.
Cleaning Steps
- Dilute the cleaning solution by mixing one part of the DeckCleaner with three parts water (one gallon of diluted cleaner will cover approximately 1,000 square feet of decking).
- Starting with one small section of your deck, saturate the boards with the cleaning solution and allow it to stand on the surface for 30-60 seconds. Don’t allow the cleaner to dry or evaporate before scrubbing. Avoid cleaning in direct sunlight to slow down the drying process.
- Scrub the deck with the appropriate brush by asserting downward pressure. Start by scrubbing with the grain, then against it to work the cleaner into the surface texture. Don’t allow the treated area to dry before you rinse it as this will allow dirt residue to dry on the surface texture.
- Rinse the treated area with clean water. For best results, dry or remove standing water with a towel or sponge mop. Then allow the deck to air dry completely. Note that any residual cleaner residue can leave a difficult to remove surface film.
- Repeat steps 2-4 on the other sections of your deck.
- For stubborn or missed areas, or areas where cleaner may have dried, repeat the cleaning process.

Protect Your Deck
If you want to go beyond winter deck protection and learn more ways to keep your deck healthy and looking great year-round, check out our Care & Cleaning Guide.