Building a deck can transform an outdoor space, creating a perfect area for relaxation and entertainment. To ensure your deck project is successful, it’s essential to carefully plan and design every aspect, from size and shape to materials and fasteners. The fourth step in this process is installing railing.
Review installation requirements
No matter which railing you’ve selected – Composite, Aluminum, or PVC – we have detailed instructional videos to guide you. Review these installation requirements before starting to ensure your final railing design aligns with the specifications and that you have all the necessary tools. Each railing system has unique requirements, so understanding them beforehand can save you time.
Consider finishing touches before installation
Before you begin installing the railing, consider any additional elements like rail lighting or gates. For example, pre-wiring for lighting during the railing installation can save time and money if you plan to add lighting later. And if you plan on installing a gate, it’s important to make sure the posts are positioned correctly to accommodate it.
Railing post attachment
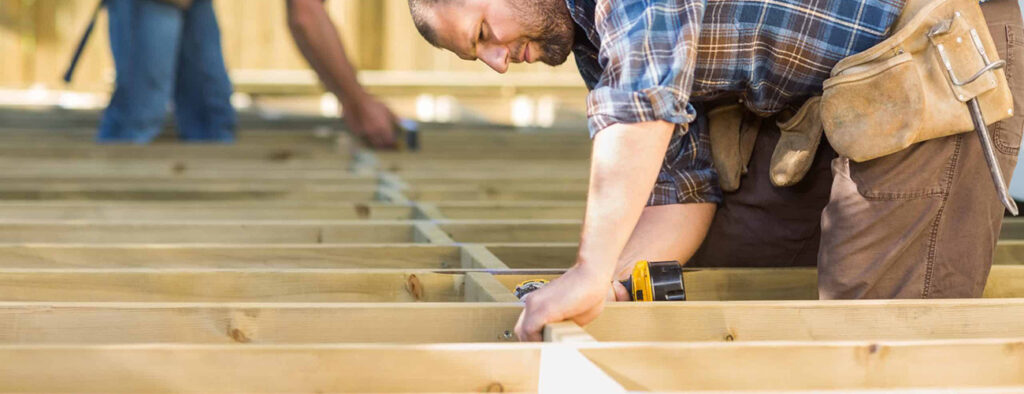
The first step in installing a railing is attaching the posts. Follow the steps to add the required blocking for structural integrity and ensure all posts are aligned and plumb.
- For wood posts, surround them on all four sides with joists or blocking and through-bolt them to the deck frame.
- The code-compliant TimberTech Secure Mount Post, compatible with Composite and PVC Railing, mounts to the deck surface and requires a Deck Mounting Kit. It is through-bolted to the decking, two pieces of blocking and a Base Plate.
- Impression Rail Express offers two different installation options. For fascia-mounted posts, the most common method, use the longer Fascia Mounted Post Kit and Fascia Mounted Bracket Kit. For surface-mounted posts, lagging into joists or blocking positioned vertically is required.
Complete post sleeve & skirt installation
If installing Composite or PVC Post Sleeves, place them over the structural posts now, using shims to maintain alignment, and plumb them. Install Post Skirts before adding any hardware or accessories to the Post Sleeves.
Railing & baluster layout
Determine the layout of your balusters on the rail panels before cutting the railing. Most vertical baluster railings come with fixed spacing. For example, Classic Composite Rail has pre-drilled holes at 5″ On Center. Layout the balusters to maximize the gap at each end while keeping it under 4″ as required by code. Rail sections with an odd number of balusters will have a baluster in the center of the section, while those with an even number of balusters will have a space at the center with an equal number of balusters on each side
Assemble railing panels & attach railing to post
This step can vary significantly by railing system, so be sure to follow the installation requirements for your system. Cut the rails to length, attaching or inserting balusters, then attach brackets to the rails and fasten the brackets to the structural posts. Impression Rail Express offers pre-assembled panels making this step a quick and easy install. If you haven’t already, attach foot blocks as required for safety and durability.
Finishing touches
Finish the railing installation by capping the rail with a top rail to hide brackets and add structural integrity. Install Post Cap Lights and Post Caps. Once your deck is complete, learn how easy it is to maintain its real wood looks in our Care & Cleaning Guide.