Building a deck can transform an outdoor space, creating a perfect area for relaxation and entertainment. To ensure your deck project is successful, it’s essential to carefully plan and design every aspect, from size and shape to materials and fasteners. This guide will walk you through the key steps in building your dream deck, making the process easy to understand and enjoyable. The second step in this process is framing the deck.
A well-designed and properly installed deck frame is crucial for a long-lasting, high-performance deck. Spend as much time as needed to get the framing right – it will be worth it.
Inspections
Permitted decks often require three inspections: Footing, Framing, and Final. Be sure to plan these inspections into your build timeline. If you are installing a freestanding deck that is low to the ground, also known as an island deck, your building department may not require a permit or inspections.
Locate, dig & pour footers
Follow your plan drawings and ensure your utilities are properly marked to dig holes for your footers. Consider the depth required based on the frost line and soil type of your area, as well as the load requirements. After digging, complete the footer inspection, then pour your footers. Allow a few days for them to cure before setting hardware and installing posts.
Attach membrane flashing, ledger board & deck flashing
The Ledger Board is the critical attachment of the deck to the house. For a freestanding deck, skip this step. Remove siding and install a waterproof membrane above, behind, and below the ledger board area. Attach the ledger board to the house with structural fasteners in the pattern and frequency specified by the fastener manufacturer. Use flashing to prevent water from getting behind the ledger board.
Set posts & beams
Attach post bases to the footings and set the posts, bracing them to ensure they are plumb. Cut the posts to the desired height for either a drop beam (installed under the deck joists) or a flush beam (installed flush with the deck joists). Ensure beams are level, then attach using code-compliant structural hardware.
Install rim joists & field joists
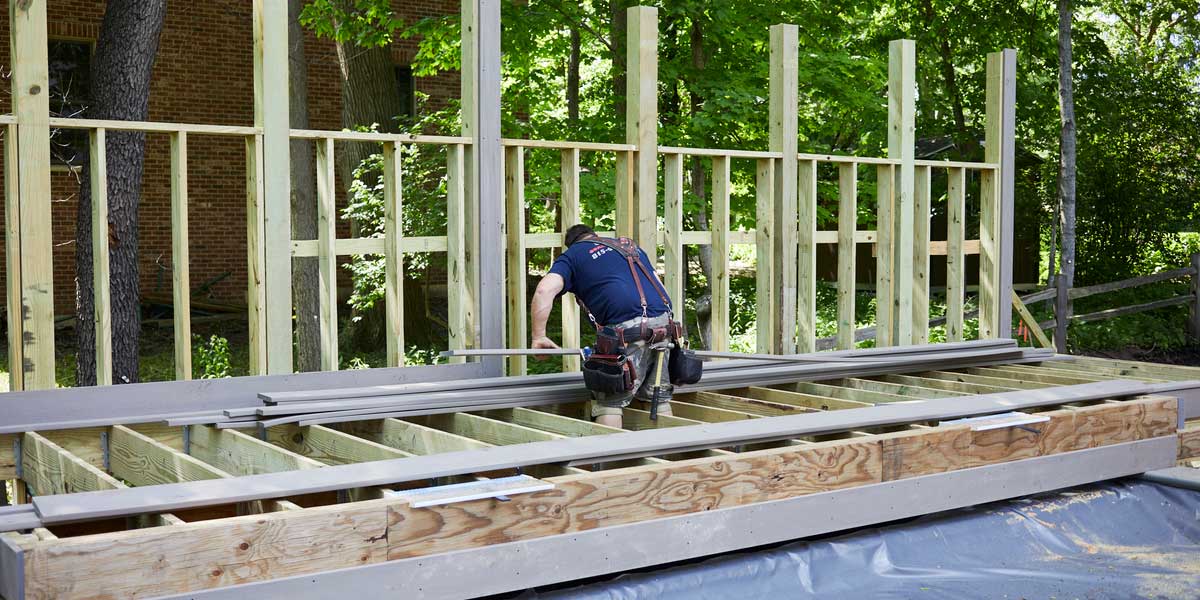
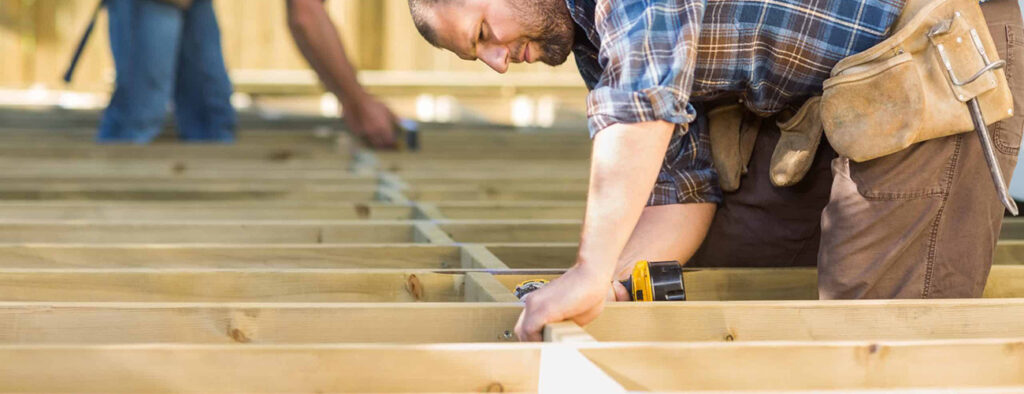
When installing TimberTech Advanced PVC or Composite Decking, it is essential to ensure the top surface of the joists creates a level plane. Best practices include grading wood joists, planning high points on joists, and notching or shimming where required. Typically, joist spacing is 16″ on center, but 12″ on center can provide a firmer feel underfoot. Once you have a completely level surface, install the rim joists first, the perimeter of the deck, and then the field joists. It is often easiest to temporarily fasten all of them with a nailer or screw, followed by structural, code-compliant brackets. To avoid rip cuts, some installers prefer to leave joists long and cut them to length to end on a full deck board.
Install blocking
Blocking is essential when installing TimberTech Advanced PVC or Composite Decking. Pressure blocking, also known as roll blocking, is required every 4-6′ between each joist to prevent excessive movement due to the expansion/contraction of decking, twisting or rolling of joists, and to help the deck frame resist racking forces. Additional blocking may be needed for picture framing, patterns, or unique details. This can be with ladder blocking, short joists spanning between two joists; or flat blocking, where framing lumber is installed with the flat slide flush with the top surface of the deck while being sandwiched between two joists.
Block for guard railing
For decks with guard railing, blocking ensures a secure connection between the deck frame and the posts. Follow railing installation instructions for proper blocking placement. For wood posts or joists, blocking is required on all four sides. (Typically, joists already exist on one or two sides and blocking needs to be added to the other two sides.) TimberTech Secure Mount Post requires two layers of flat blocking, while TimberTech Impression Rail Express Posts need joists at the post holes for lag bolting.
Guard rail posts
Attach wood or metal posts to the deck frame using code-compliant structural fasteners, following the manufacturer’s requirements. Ensure the posts are plumb and cut to the desired height.
Joist tape
TimberTech Pro-Tac Flashing and Joist Tape extends the life of pressure-treated deck framing by limiting water penetration, particularly at fastener locations. Use Pro-Tac on joists, posts, beams, blocking, and the outside of the decking rim joist, provided it will be covered with a TimberTech Fascia Board or an AZEK Exteriors Trim Board. On stairs, apply Pro-Tac on the stringers, particularly where they are cut for risers and treads, and on the outside of the stringers and structural risers if they will be covered with a TimberTech Fascia Board or an AZEK Exteriors Trim Board.
Once your deck has been framed, you’re ready for Step three: Installing decking.

